.png?width=318&height=158&name=download%20(38).png)
Contents
- Accessing the Case
- Mapping Exhibits
- Downloading the Evidence Matrix
- Producing the Brief of Evidence
- Finalising the Case
Accessing the Case
- Log In: Navigate to https://icets.comtrac.com.au and log in with the details that were sent to you via email. On your first log in, the system will prompt you to set a new password.
- Comtrac Homepage: After logging in, you will be brought to the Comtrac Homepage. You can return to this page at any time by clicking the Home icon
 at the top-left of the screen.
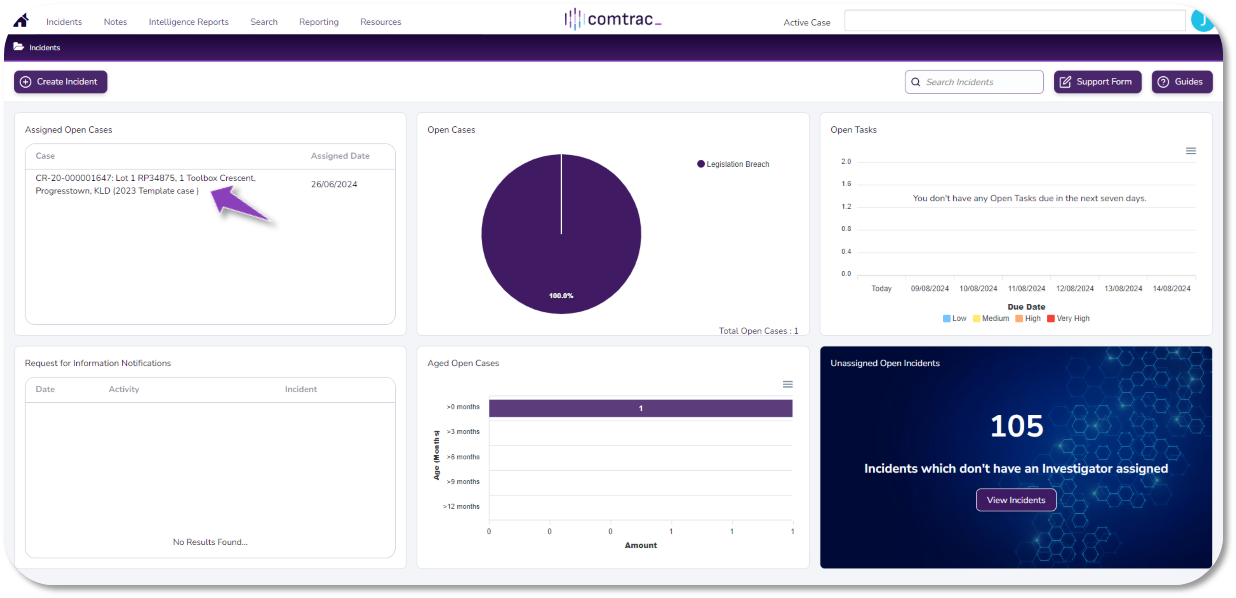
- Access Assigned Case: In the Assigned Open Cases widget, click anywhere on the case details to open your unique assigned case for the course. This will bring you to the Incident Details page of your assigned case:


Mapping Exhibits
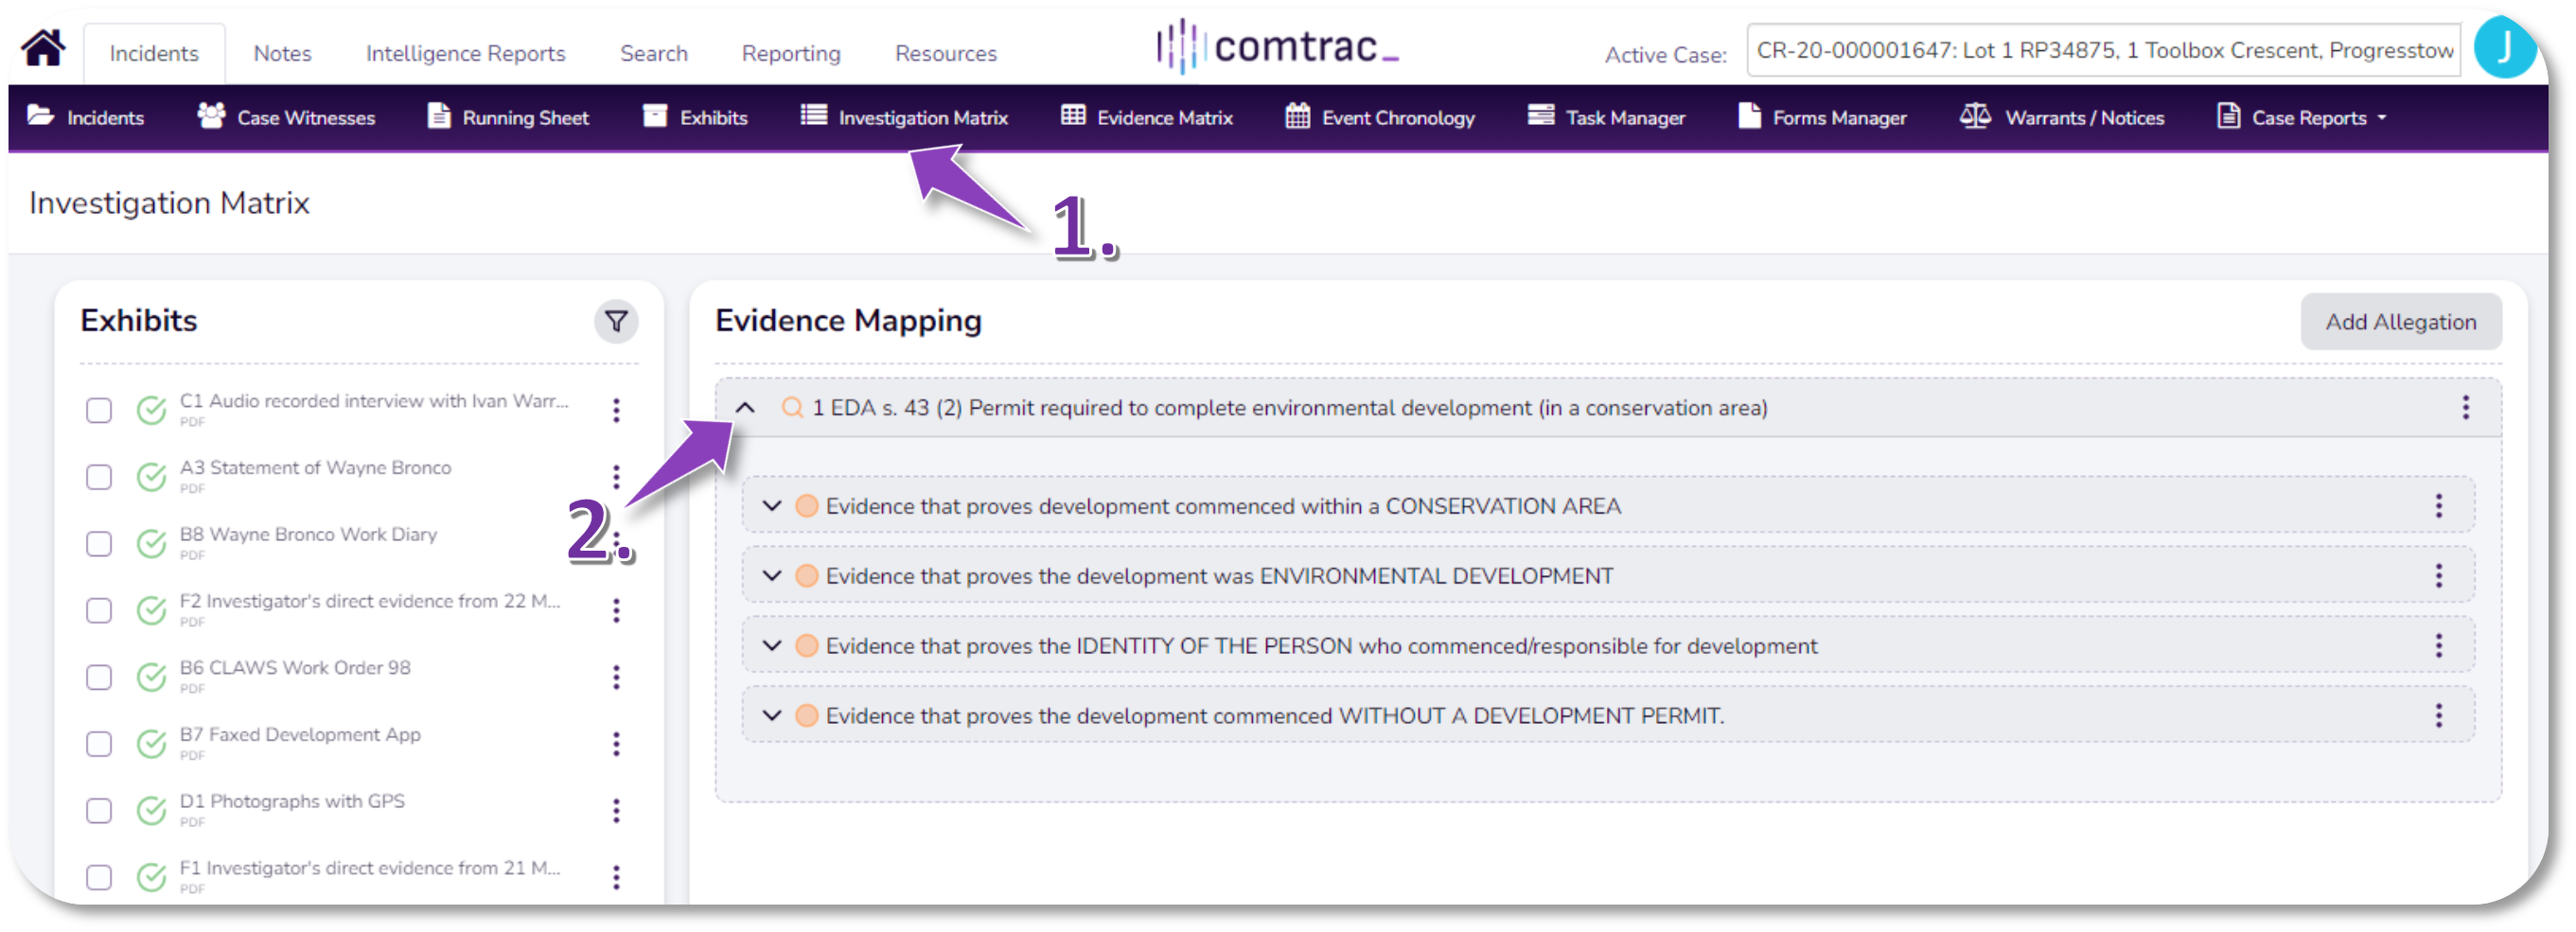
- Access the Investigation Matrix: Once you've accessed your case, click on the Investigation Matrix button in the purple ribbon.

- Expand Elements: Once you have accessed the Investigation Matrix page, click on the arrow next to the offence to expand it and view the elements.
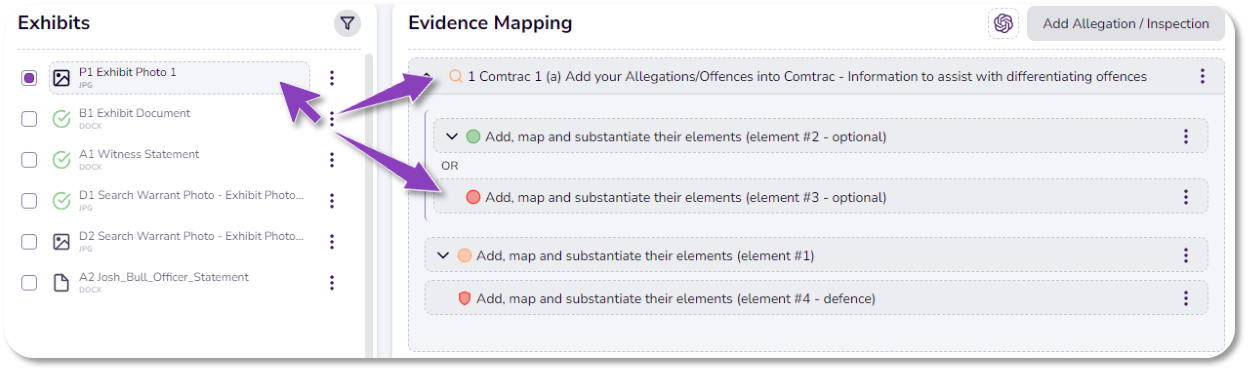
- Map Exhibits: Click and drag the exhibit you wish to map and drop it on either an individual element to map it against that element, or to the offence to map the exhibit against every element at once.

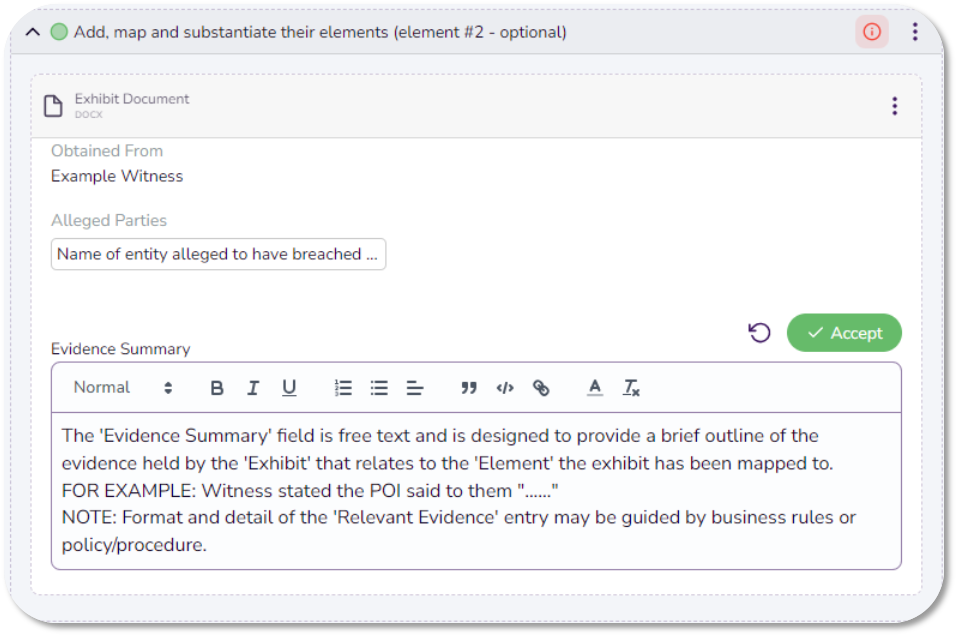
- Evidence Summary: Once an exhibit has been mapped to one or more elements, a free text field titled Evidence Summary will automatically open below the exhibit name. Describe how the exhibit goes towards proving the element that the exhibit has been mapped against.

- Map to other Allegation Elements: Click on the three dots in the top-right corner of a mapped exhibit and select Map to other Elements. This opens a window where you can select one or more other elements to map the selected exhibit to.

- Unmap Exhibit: The other option when clicking on the three dots is to Unmap Evidence. Once confirmed, this will remove the exhibit's association from the element.

- Accept: Once the summary has been entered, click on the Accept button to save the mapped exhibit against the element.


Downloading the Evidence Matrix
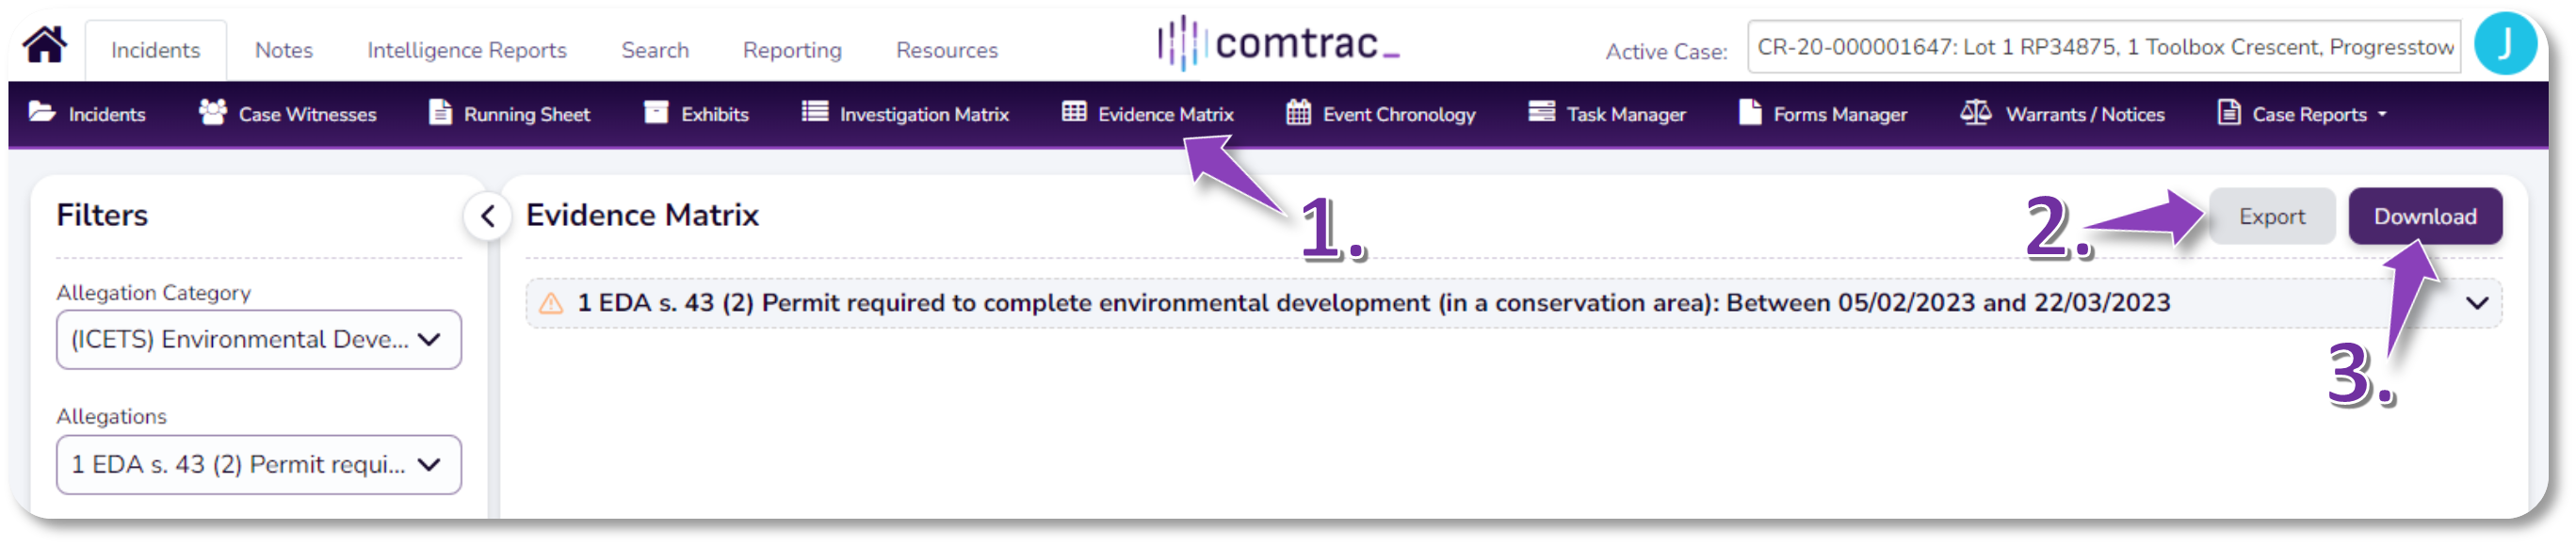
- Access the Evidence Matrix: Once you've accessed your case, click on the Evidence Matrix button in the purple ribbon.

- Export: Click the Export button to begin exporting the Evidence Matrix. You will receive an email notification when this is complete.
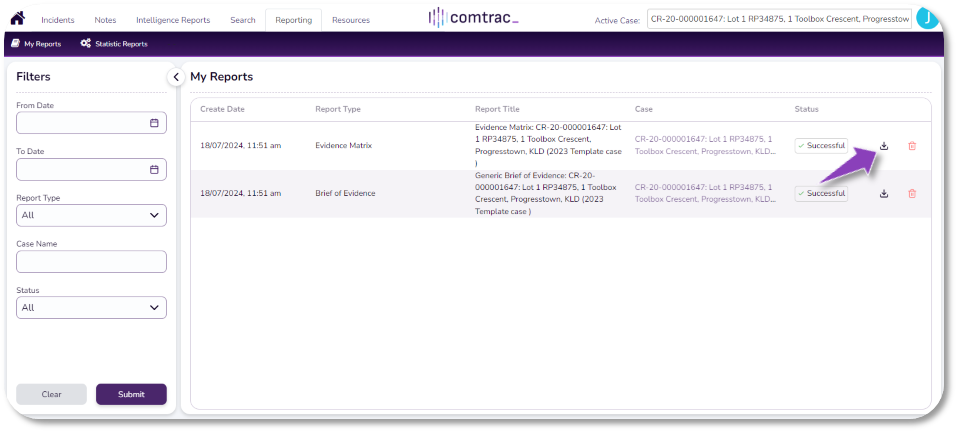
- Download: Click the Download button, which will take you to the My Reports page. You can then click the download icon
 to download the Evidence Matrix as a .PDF.
Producing the Brief of Evidence
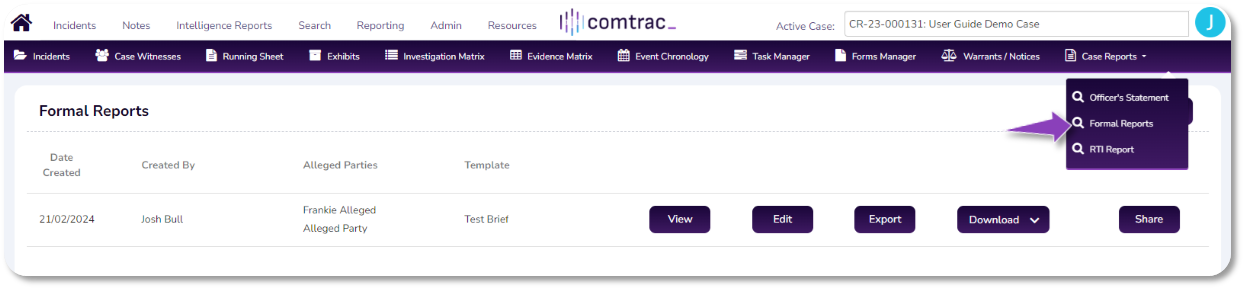
- Access Formal Reports: Once you've accessed your case, click on the Case Reports drop-down and select Formal Reports from the list.

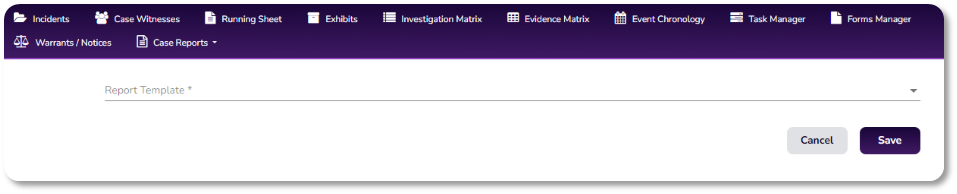
- Open Brief of Evidence Template: Click on Add Report to open the screen below and select the Generic Brief of Evidence from the drop-down list.

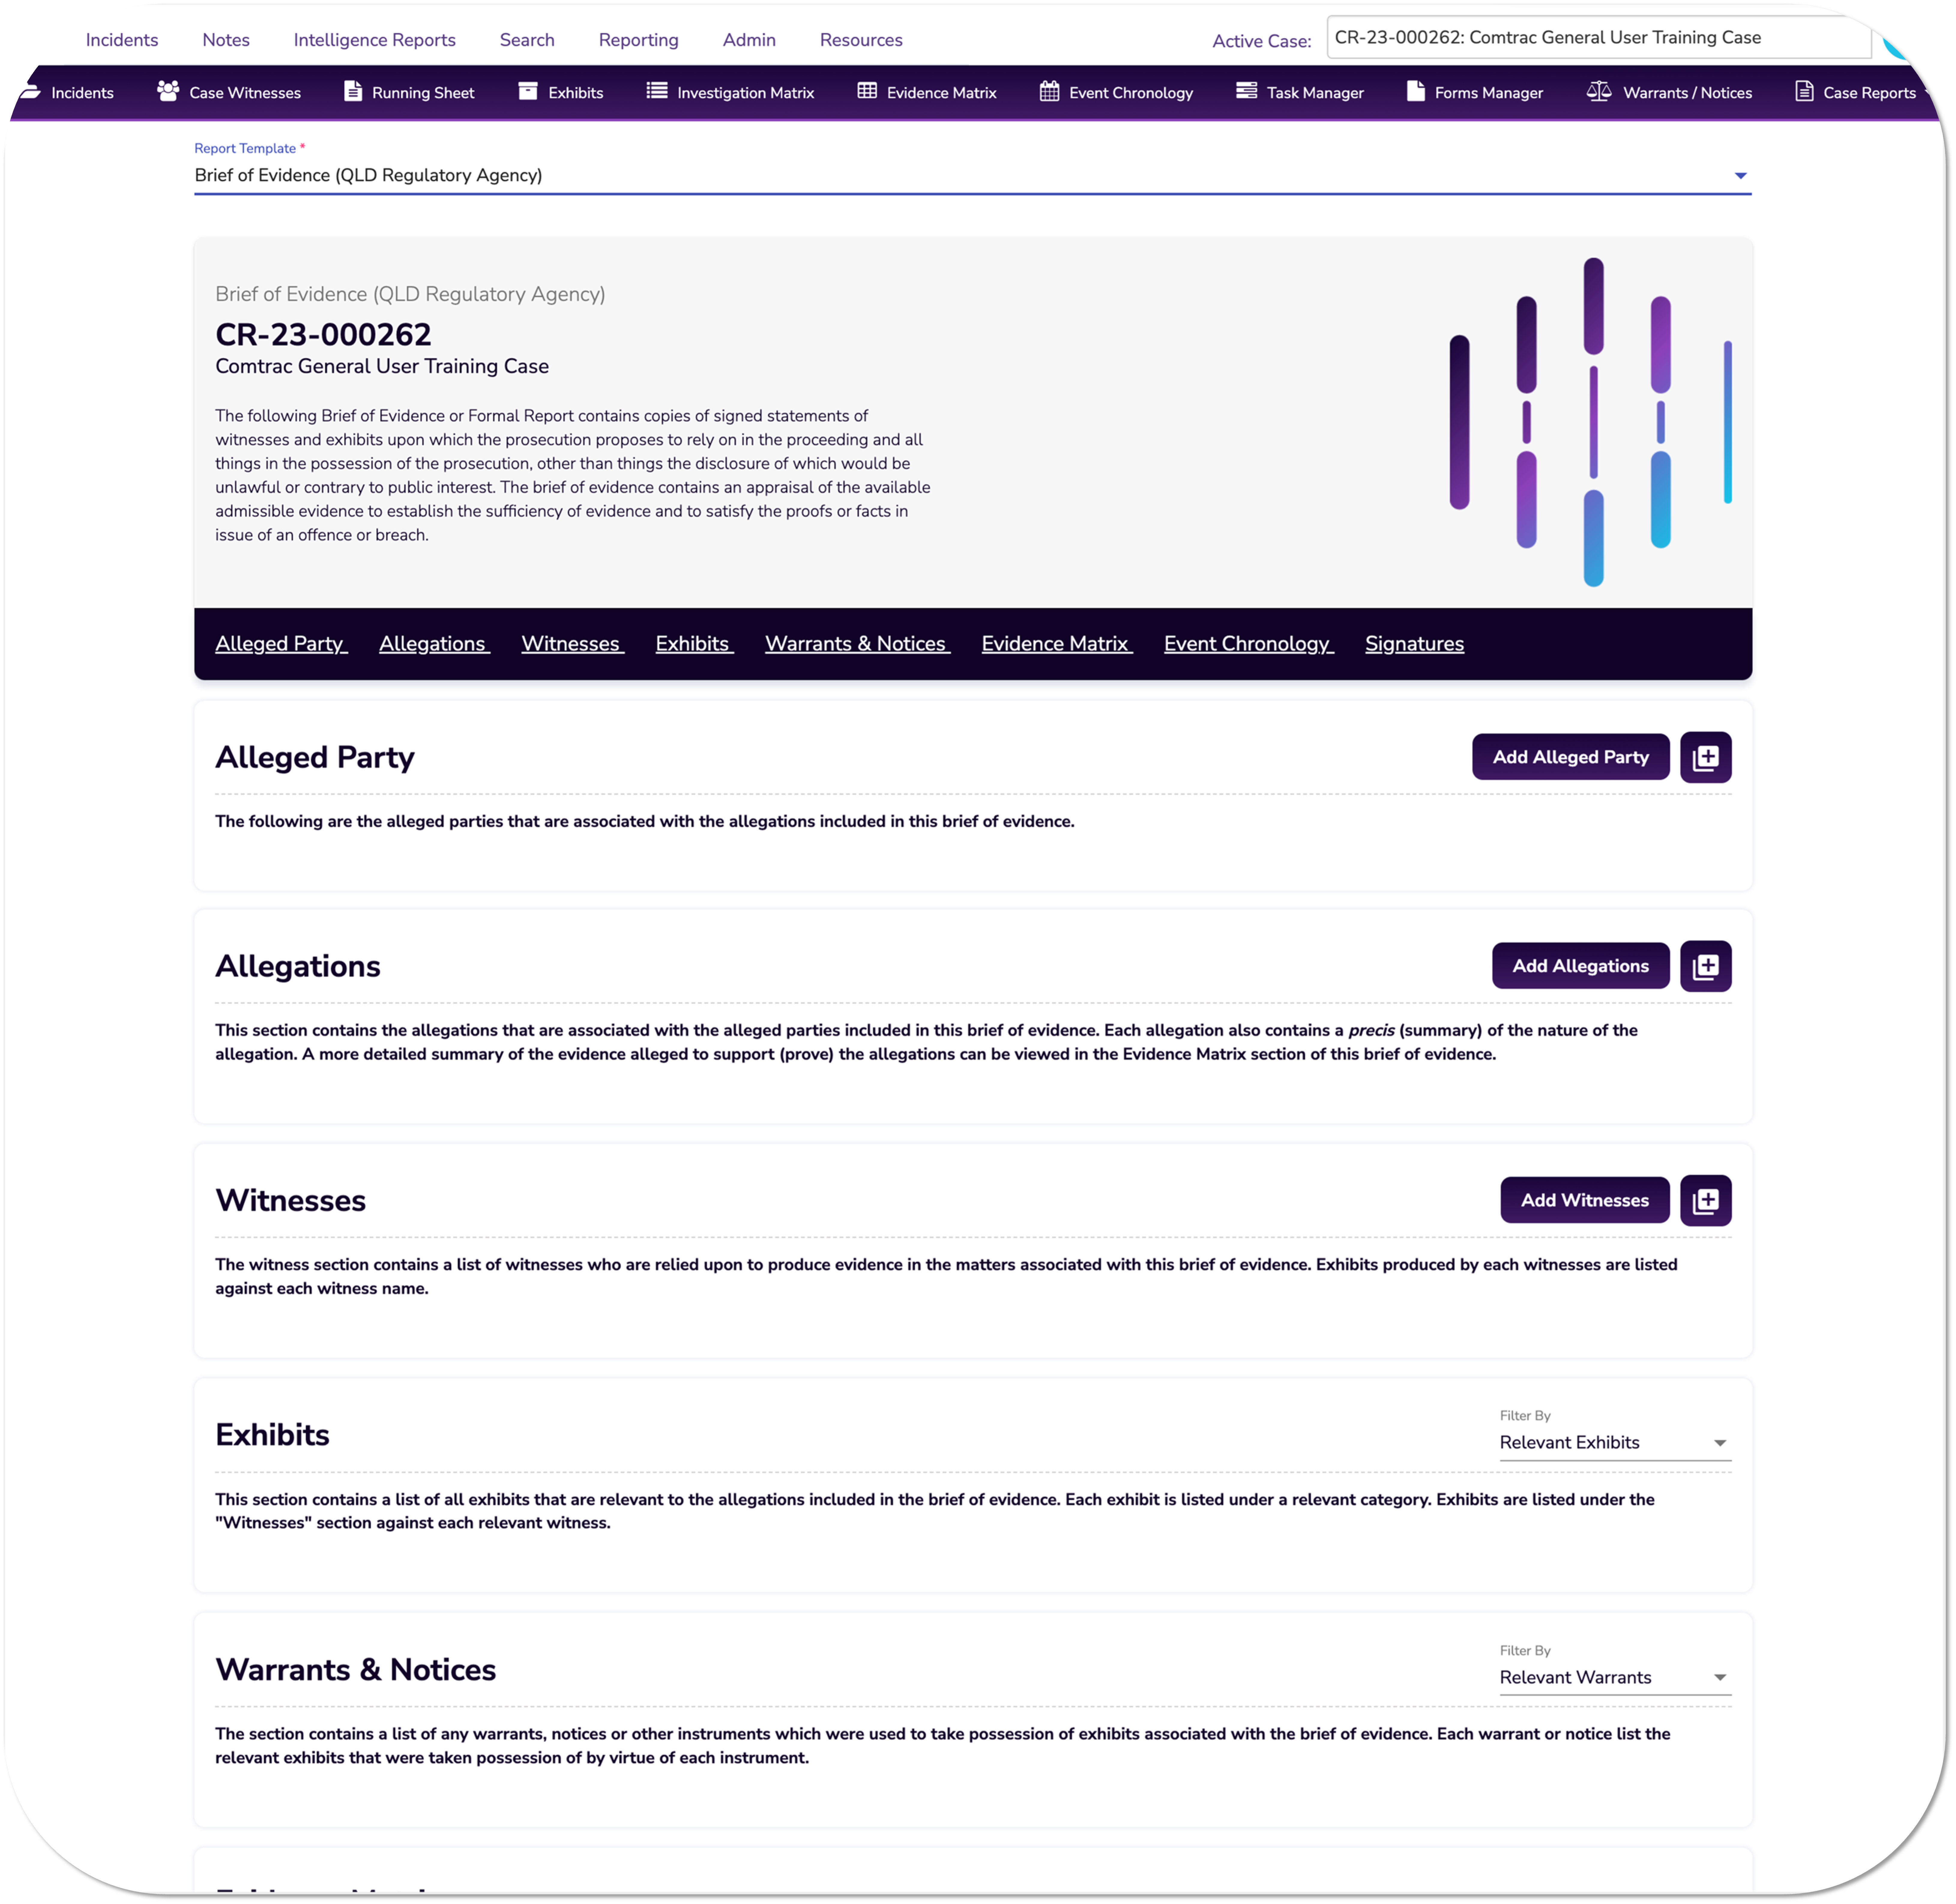
- Complete Brief of Evidence: The template will appear on-screen once it is selected, and should look similar to the below example:
 To complete the report, fill out the following fields:
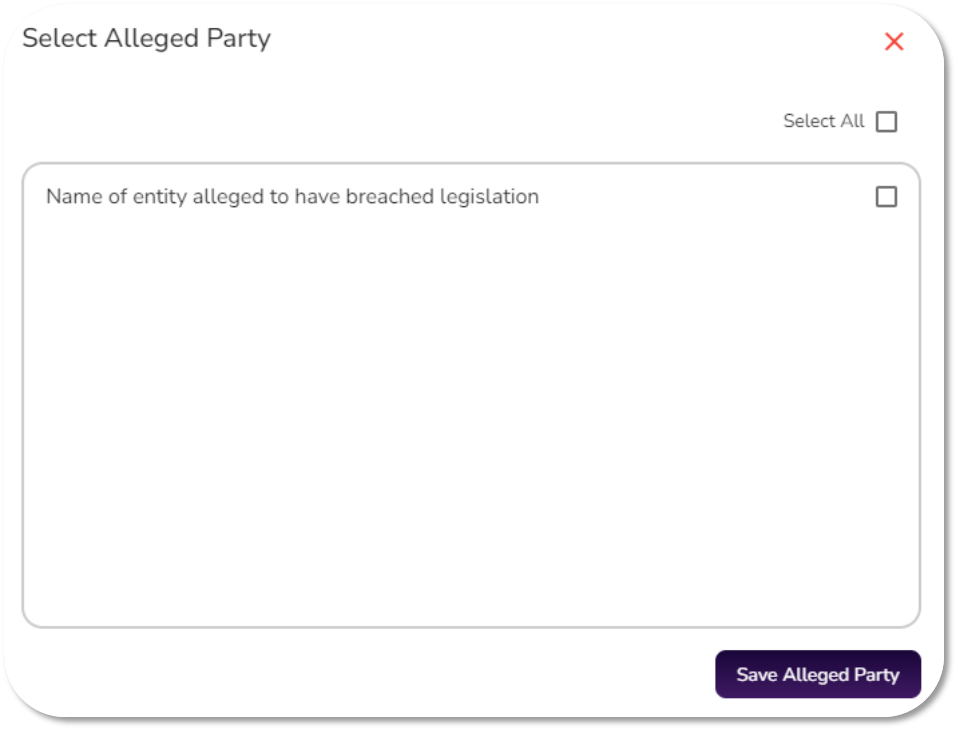
 - Add Alleged Parties: Click on Add Alleged Party to open a window and check the box next to the name of the POI from your case. Click Save Alleged Party to add them to the report. An Alleged Party must be selected before an allegation can be added.

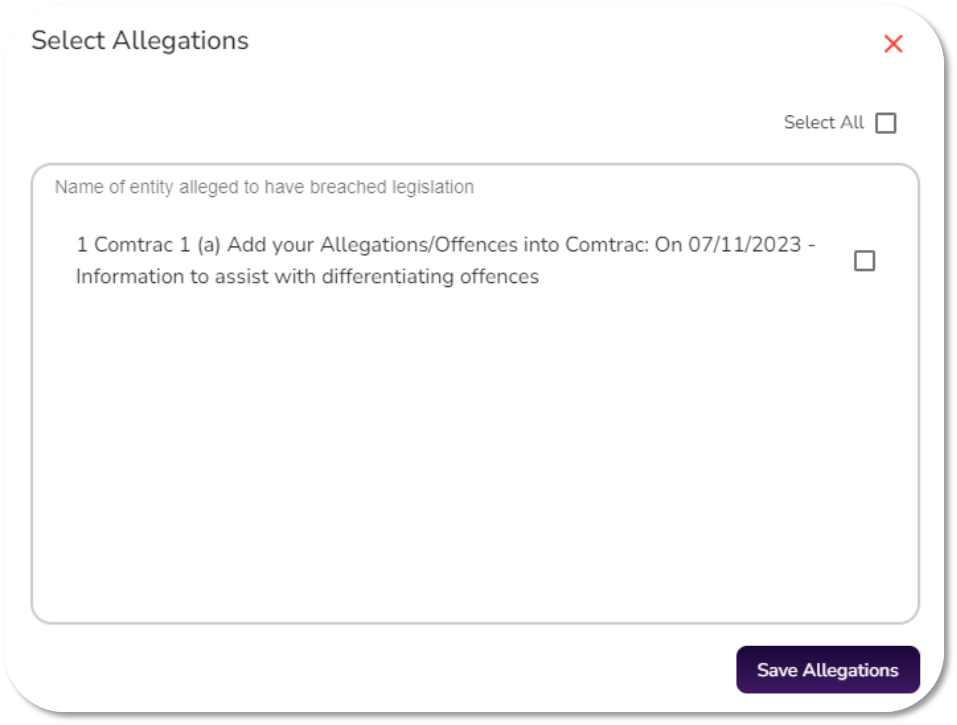
- Add Allegation: Click on Add Allegations to open a window and check the box next to the allegation(s) from your case. and click Save Allegations to add the selected allegation(s) to the report.

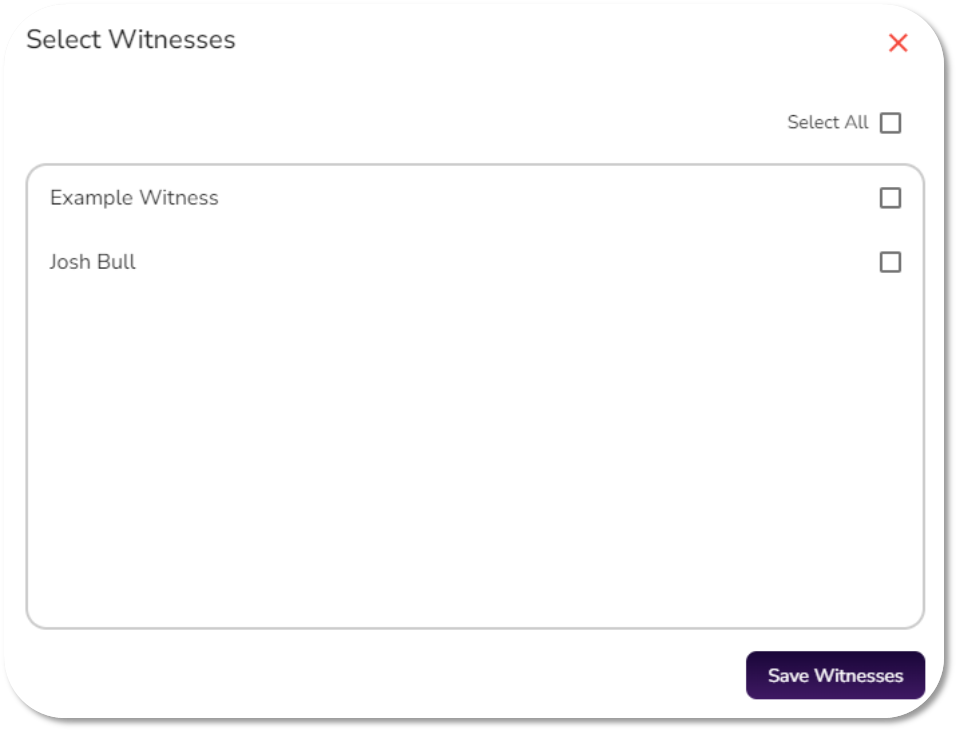
- Add Witnesses: Click Add Witnesses to open a window and check the boxes next to the witnesses for your case. Click Save Witnesses to add them to the report. A list of exhibits associated with each witness will appear with their entry.

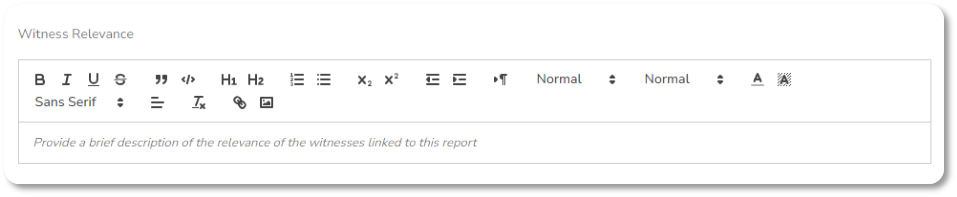
- Witness Relevance (Custom Field): In the custom Witness Relevance text box, write a brief description of the connection to the case for witnesses FARIAN and BRONCO. Text editing options can be used to highlight relevant witness information.

- Additional Information: The remaining information is automatically imported into the brief according to the data entered into the investigation. Feel free to explore and review the Exhibits, Evidence Matrix, Warrants & Notices and Event Chronology sections.
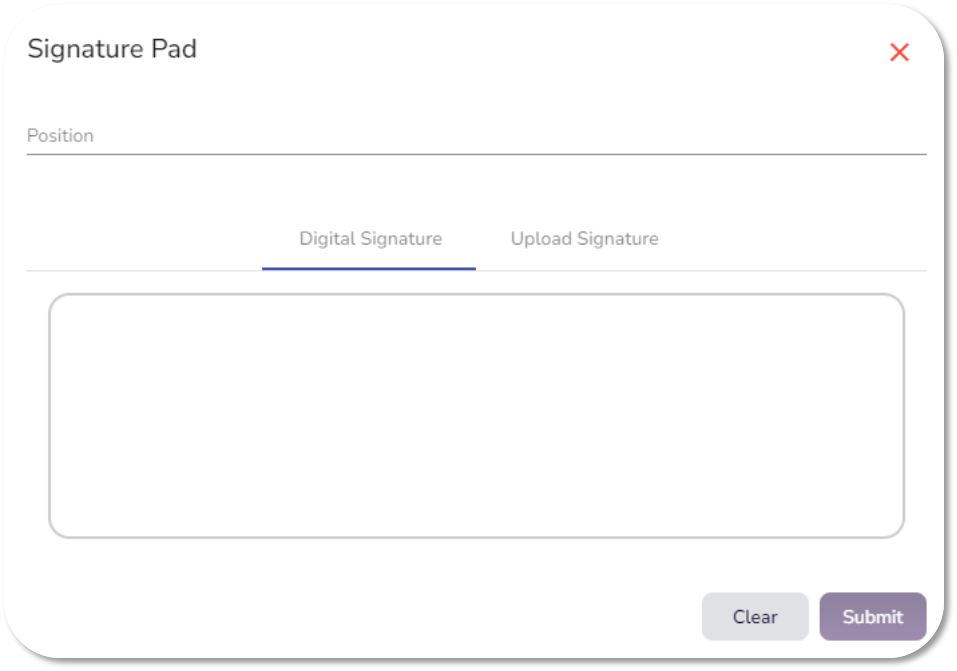
- Add Signature: Scroll down to the Signature section and click the purple + button above Add Signature to sign the report, either by drawing a signature or uploading a signature image. Click Submit to add the signature to the report.

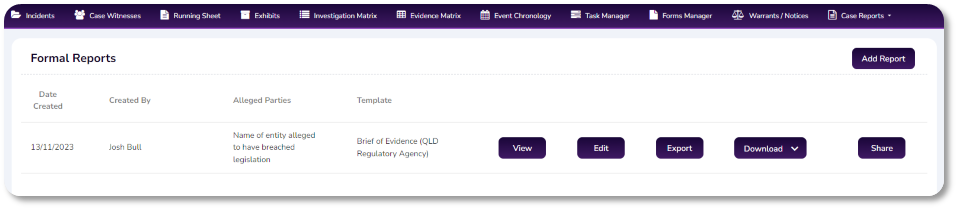
- Save BOE: Once all details have been added, click Save to save the formal report. The saved report will then appear in the Formal Reports List, where the report can be Viewed, Edited or Exported.

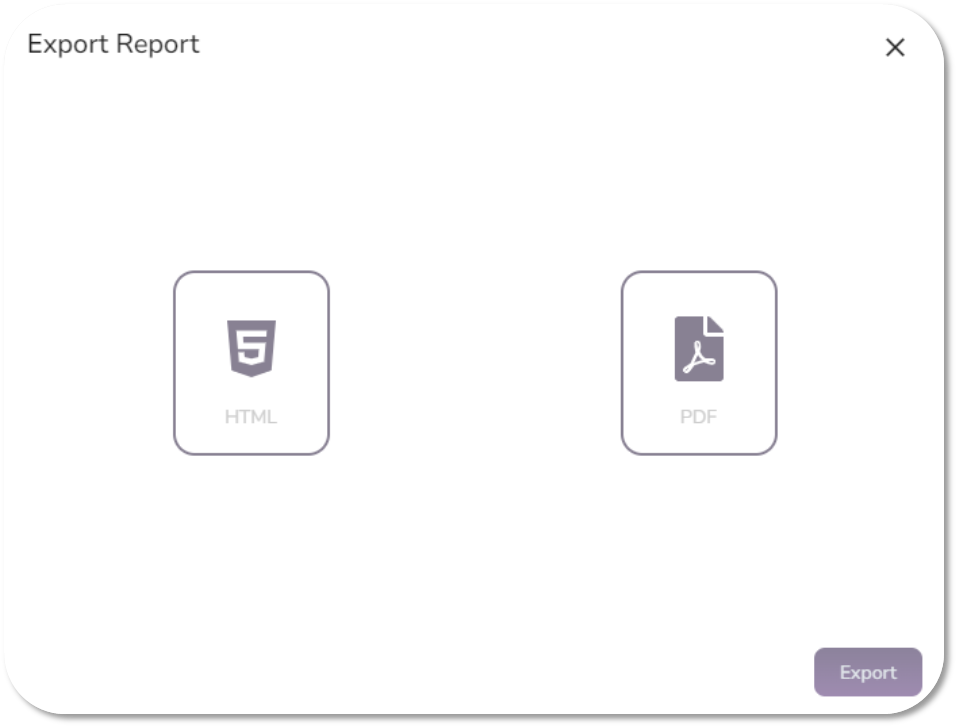
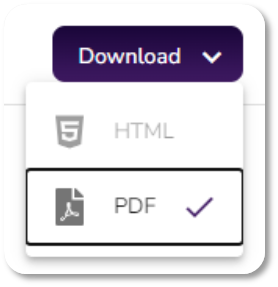
- Export PDF Brief of Evidence: Click on the Export button to open a pop-up window. Select the PDF icon and then click Export to export the BOE. Once the Export has commenced, a Download button will appear while the system prepares the PDF file. You will receive an email notification when this is complete.

- Download PDF Brief of Evidence: Click the Download button. If the PDF file is ready, a tick will appear next to the PDF option. Click the PDF option to download the Brief of Evidence file locally to your system, ready to be uploaded to aXcelerate.

Finalising the Case
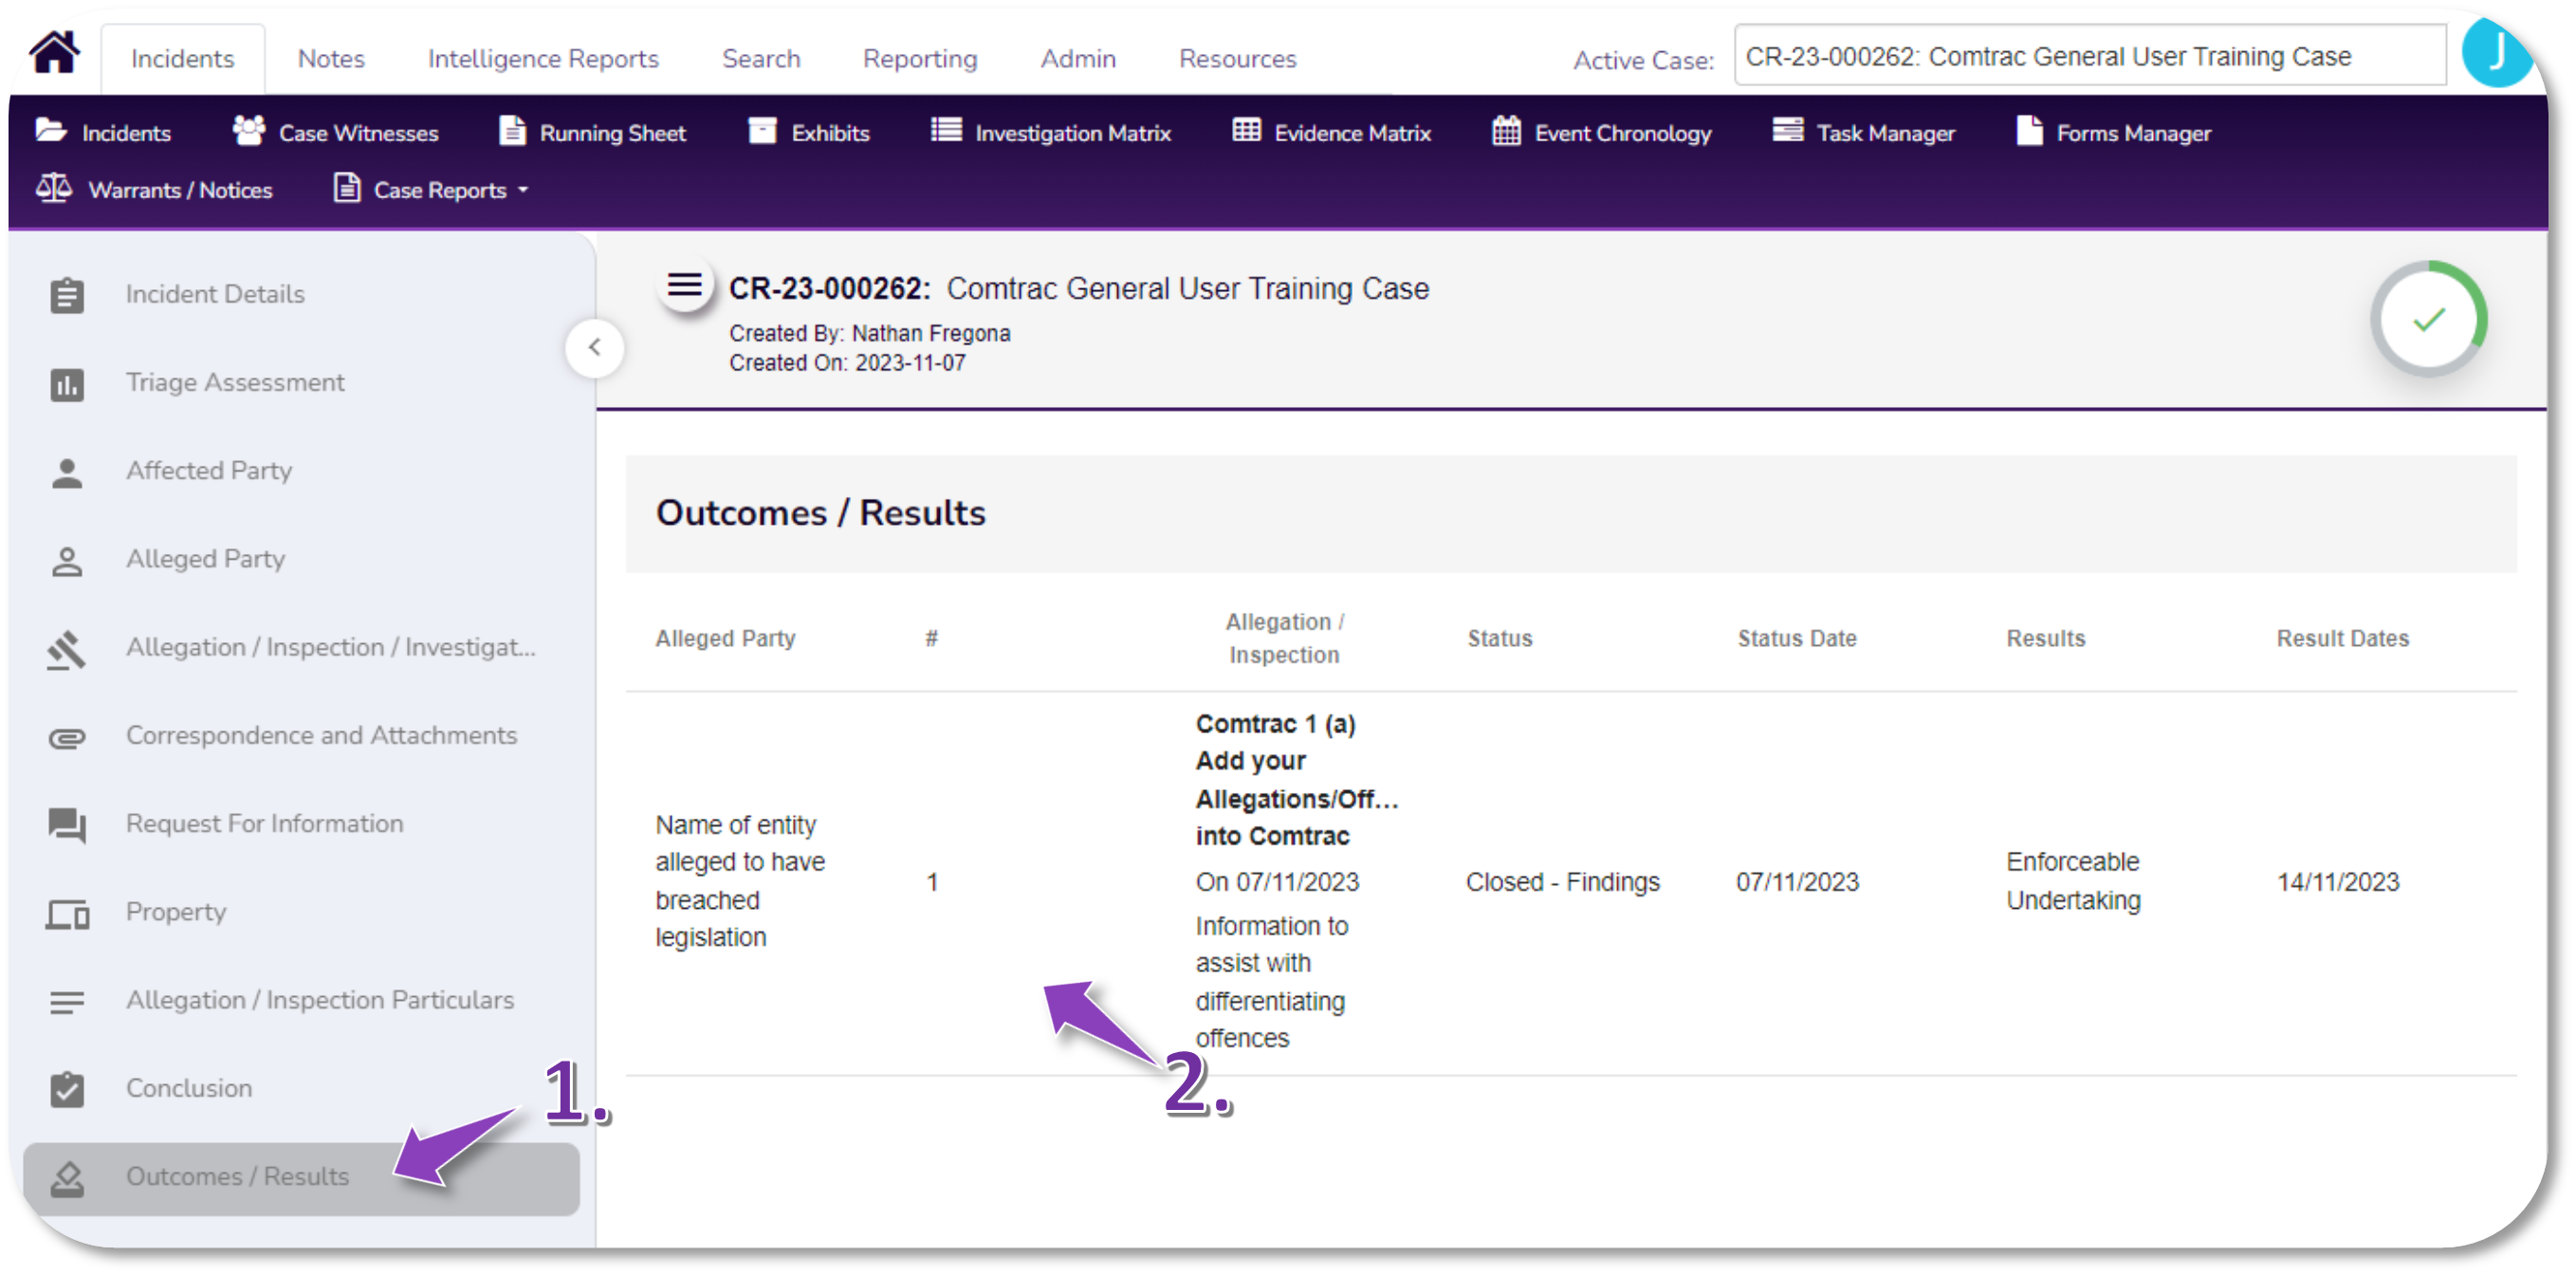
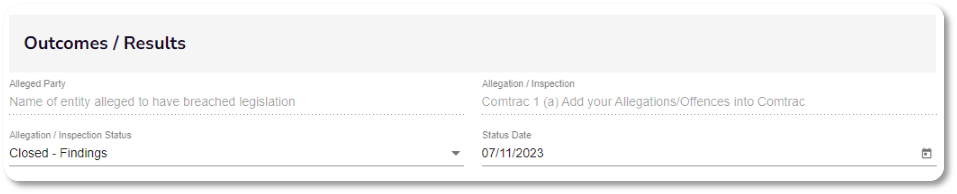
- Access Outcomes/Results: Once you've accessed your case, click on the Outcomes/Results section and select the relevant Allegation from the list.

- Update Allegation Status: Click on the Allegation Status drop-down and select the appropriate option to signify that the case is now closed. After selecting the option to close the case, update the Status Date based on the court findings handout.

- Add Case Results: In the Outcome Results section, click Add Result. Complete the results details according to the court results handout. To add more results, click the Add Result button again.

- Notes: Type a brief summary of the court findings in the Notes field below the Outcomes Results section.
- Save Case Results: Once all details have been added, click on Save Case Results at the bottom of the screen to save your changes.

NOTE: If you require further support, please contact support@icets.com.au